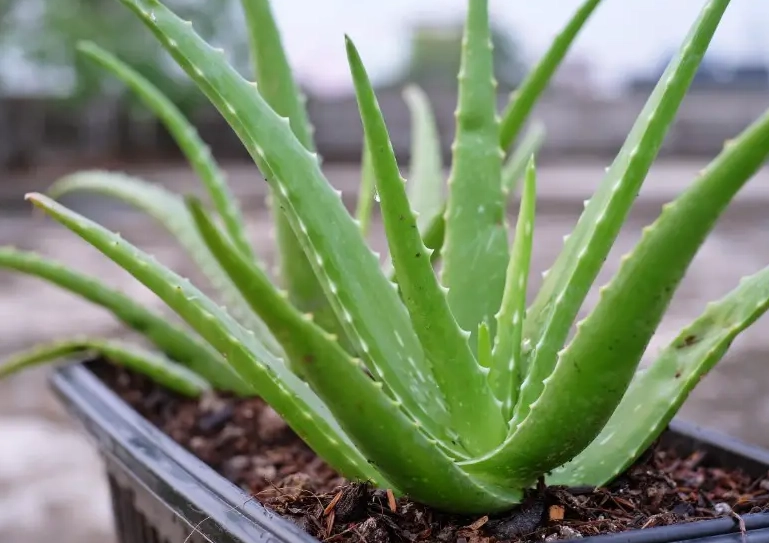
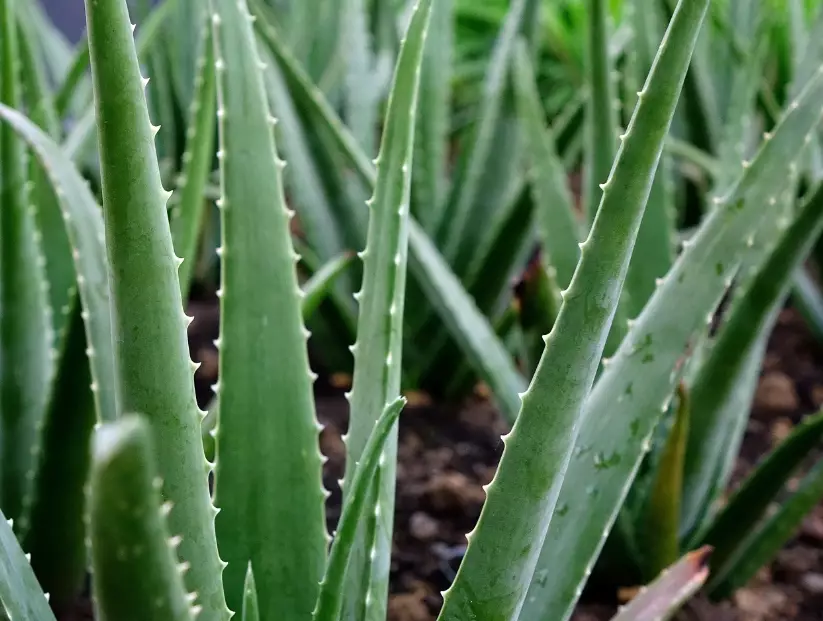
Let's talk about how to cultivate aloe vera. It's not just about sticking a plant in a pot and hoping for the best. Most guides tell you it's easy, but they skip the nuances that make the difference between a plant that merely survives and one that truly thrives. I've killed my share of aloes by overwatering, under-lighting, and repotting at the wrong time. Through those mistakes, I learned what actually works. This guide cuts through the generic advice and gives you the specific, actionable steps I use to keep my aloe plants robust, ready to harvest, and constantly producing new pups.
What You'll Learn Inside
How to Choose the Perfect Pot for Your Aloe
This is where most first-timers go wrong. They grab a cute ceramic pot without a drainage hole, and that's a death sentence. Aloe vera roots hate sitting in moisture. The pot is your first line of defense against root rot.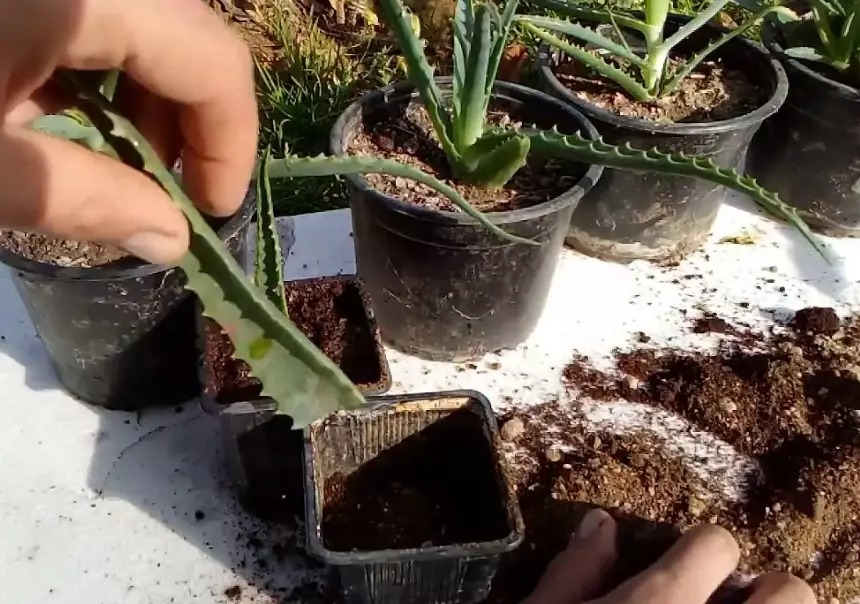
I always go for terracotta or unglazed clay pots. Why? They're porous. They allow the soil to breathe and dry out from the sides, not just the top. Plastic pots retain water much longer, which increases the risk if you're still getting a feel for the watering schedule.
Size matters more than you'd think. A pot that's too large holds excess soil that stays wet for too long, drowning the roots. A pot that's too small cramps the roots and stunts growth. The sweet spot? A pot that's about 1-2 inches wider in diameter than the base of the plant itself. When you repot, only go up one size.
The One Soil Mix Secret Most People Ignore
Bagged "cactus and succulent" soil from the store is a good start, but it's rarely enough on its own. In my experience, it's still too moisture-retentive for aloe vera's liking, especially in humid climates or if you tend to be an over-enthusiastic waterer.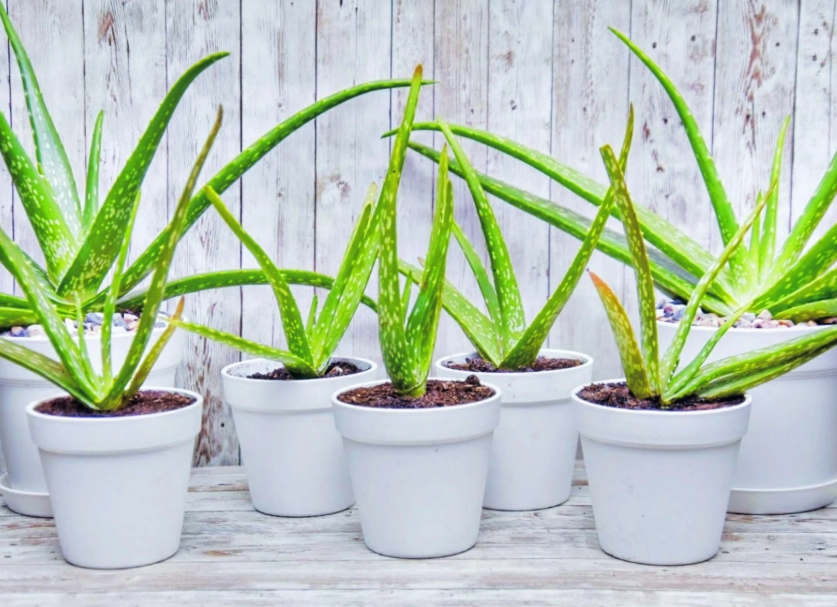
Here's my go-to mix that has never failed me:
- 50% Bagged Cactus/Succulent Soil: Provides a base of nutrients and structure.
- 25% Perlite or Pumice: This is the key. It creates air pockets, improves drainage dramatically, and prevents compaction. Perlite is cheaper and easier to find.
- 25% Coarse Sand (Horticultural Grit): Not beach sand, which is too fine and salty. This adds weight and further improves drainage.
Mixing this yourself takes five minutes and transforms your plant's environment. The goal is a mix that feels gritty, falls apart easily when dry, and drains water almost instantly when you pour it through.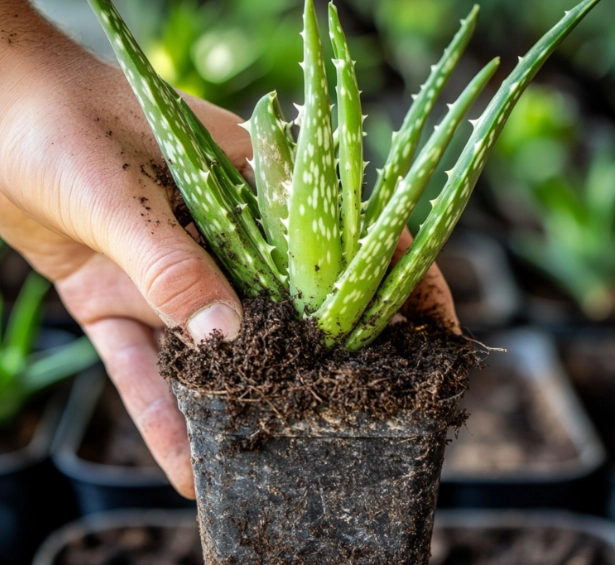
The Right Way to Water (It's Not What You Think)
Forget watering on a schedule. "Once a week" is the most common advice that kills aloe plants. Your plant's thirst depends on pot size, soil mix, sunlight, temperature, and humidity.
The only reliable method is the "soak and dry" method. Here's how it works:
- Wait until the soil is completely dry all the way through the pot. Don't just check the top inch. Stick your finger deep into the soil, or lift the pot—a dry pot is significantly lighter.
- When it's bone-dry, take your plant to the sink or bathtub.
- Water thoroughly and slowly until you see water flowing freely out of the drainage hole. This ensures the entire root ball gets hydrated.
- Let it drain completely. Never let the pot sit in a saucer full of water.
- Return it to its spot and forget about it until the soil is dry again.
In winter, when growth slows and light is lower, this drying-out period could stretch to 3-4 weeks or more. In a hot, bright summer, it might be every 10-14 days. Let the plant, not the calendar, tell you.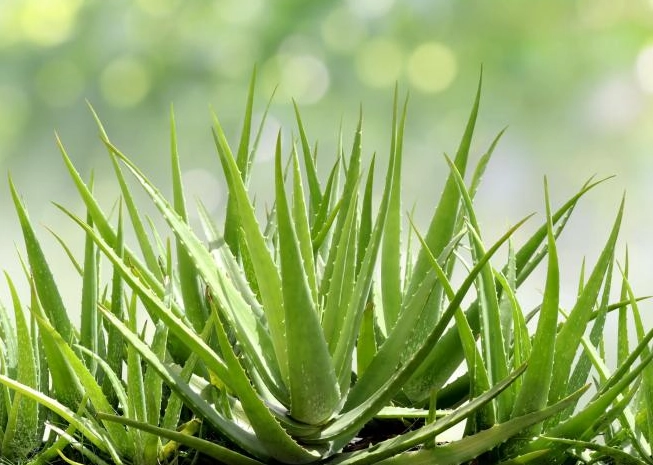
Finding the Sunlight Sweet Spot
Aloe vera loves bright light, but the term "bright indirect light" can be misleading. In my home, I've found they do best with a few hours of direct morning sun (east-facing window) or very strong, filtered light all day (south or west-facing window with a sheer curtain).
Signs you've got the light wrong:
| Problem | Likely Cause | Solution |
|---|---|---|
| Leaves turning brown, crispy, or reddish | Too much direct, harsh sun (especially afternoon sun). It's a sunburn. | Move back from the window or use a curtain to diffuse the light. |
| Leaves becoming long, thin, and pale green ("stretching") | Not enough light. The plant is etiolating, reaching for a light source. | Move it to a significantly brighter location. A grow light can help in dark rooms. |
| Plant is leaning heavily to one side | Uneven light. The plant is growing towards the light source. | Rotate the pot a quarter turn every time you water to encourage even growth. |
How to Propagate New Plants from Pups
One of the joys of knowing how to cultivate aloe vera is getting free plants. A healthy aloe will produce offsets, called "pups," around its base. Don't separate them immediately. Wait until the pup is at least one-third the size of the mother plant and has developed a few of its own roots. A tiny pup with no roots will struggle.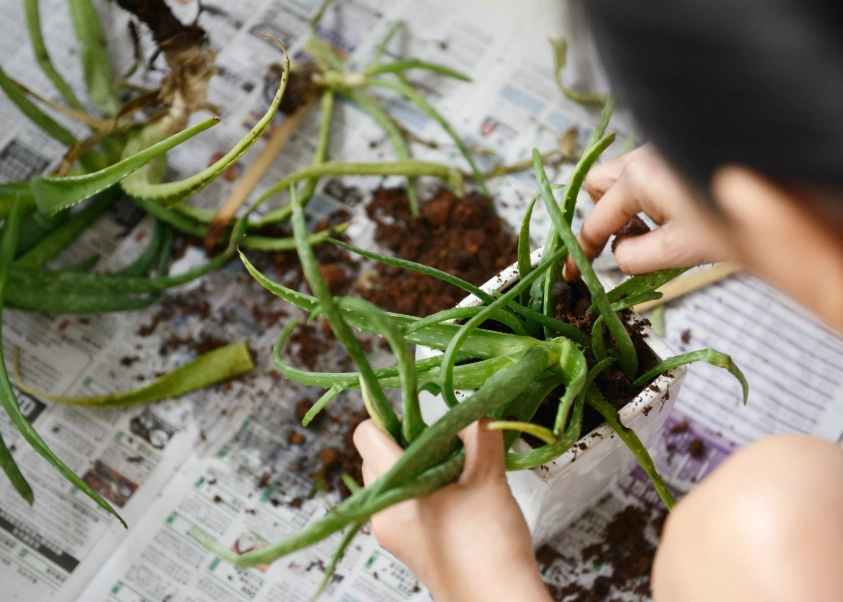
Here's my field-tested method for separation:
- Dry Soil: Ensure the soil in the mother plant's pot is completely dry. This makes the process cleaner and reduces root damage.
- Gently Uproot: Tip the entire plant out of its pot. You'll see the pups connected to the mother by a stem or shared roots.
- Clean Separation: Using your fingers, gently tease the pup away, trying to keep as many of its roots intact as possible. If it's stubbornly attached, use a clean, sharp knife to make a clean cut. Let the cut end on both the pup and mother plant callus over (dry and form a seal) for 24-48 hours before repotting. This prevents rot.
- Potting the Pup: Plant the callused pup in a small pot with your well-draining soil mix. Don't water it for about a week. This gives any disturbed roots time to heal and prevents rot. After a week, give it a light watering and treat it like a mature plant.
Troubleshooting Common Aloe Vera Problems
Even with perfect care, things can happen. Here’s how to diagnose and fix the most common issues based on what I’ve seen.
Soft, Mushy, Brown Leaves at the Base: This is the classic sign of root rot from overwatering. It's often fatal if not caught early. Act fast: remove the plant from its pot, wash away all the soggy soil, and cut away any black, mushy roots and leaves with a sterile tool. Let the plant dry out completely for a few days, then repot in fresh, dry, well-draining soil. Don't water for at least a week.
Thin, Curling, or Wrinkled Leaves: This is underwatering. The leaves are using up their internal water stores. The plant is thirsty. Give it a thorough soak using the "soak and dry" method described above. It should plump back up within a day or two.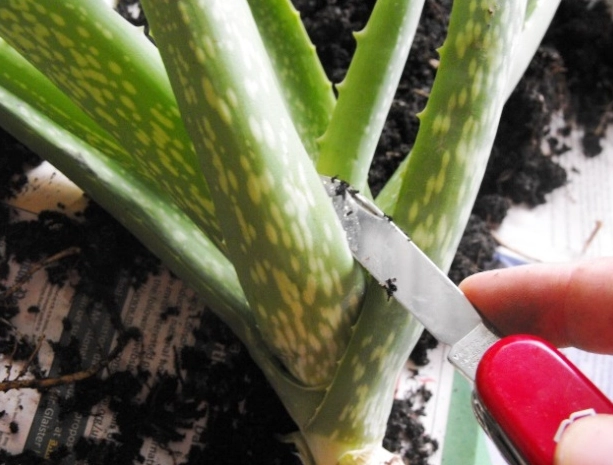
Brown Leaf Tips: Can be from too much fertilizer (which aloe rarely needs) or a buildup of minerals and salts from tap water. I use filtered or rainwater for my plants, and I fertilize at most once a year in the spring, at half strength.
Your Aloe Cultivation Questions, Answered
Why are the leaves of my aloe vera turning red or brown?
This is almost always a light issue, not a disease. It's a stress color, like a tan. If the leaves feel firm, it's likely getting more direct sun than it's used to. It's not necessarily harmful, but if you prefer the classic green color, move it to a spot with slightly less intense direct sunlight. If the leaves are soft and brown, that's a different problem—rot.
Can I use the gel from a leaf and still keep the plant healthy?
Absolutely, but be surgical about it. Don't just rip a leaf off. Choose a mature, outer leaf. Use a clean, sharp knife to cut it off as close to the main stem as possible. The plant will seal the wound. You can then fillet the leaf to harvest the clear inner gel. Avoid taking too many leaves at once, as they are the plant's energy reserves.
My aloe hasn't produced any pups in years. What am I doing wrong?
Pup production is a sign of a happy, mature plant. If yours isn't pupping, it might be slightly pot-bound (which can actually encourage pupping), but more likely, it needs more light and slightly more consistent (but still infrequent) watering during its growing season. Ensure it's getting enough bright light and that you're letting it dry properly between waterings. A little stress from being snug in its pot, combined with good light, often triggers the "reproduce" instinct.
Is it better to keep aloe vera indoors or outdoors?
I keep mine indoors year-round for consistent conditions and to have it handy in the kitchen. They thrive outdoors in summer in many climates if acclimated slowly to prevent sunburn. The critical rule: they must be brought inside before any threat of frost. Even a light frost will turn them to mush. Outdoors, they need protection from heavy, soaking rains that would keep the soil wet for too long.
What's the one mistake you see even experienced plant owners make with aloe?
Assuming it's a "set it and forget it" plant. They forget to adjust watering with the seasons. They'll water on the same weekly schedule in December as they did in July, when the plant is dormant and the soil takes four times as long to dry. The other big one is using a pot that's too decorative and lacks functional drainage. Always prioritize the plant's needs over the pot's aesthetics.
Cultivating aloe vera successfully comes down to mimicking its natural, arid habitat: lots of bright light, infrequent but deep watering, and soil that drains so fast it almost seems reluctant to hold water at all. Get those three elements right—pot, soil, and water—and you'll have a resilient, low-maintenance plant that not only looks great but also serves as a handy first-aid kit on your windowsill. Start with the soil mix and watering method, and you're already ahead of 90% of beginners.