Let's get straight to it. Aloe vera has this reputation for being the ultimate "unkillable" plant. You see it on desks, in kitchens, and everyone says it's easy. But then you bring one home, and a few months later it's either a mushy, brown mess or a dried-up, curled-up husk. What gives? The problem isn't the plant. It's that most advice treats aloe like a generic houseplant, when it's really a succulent with very specific, desert-born needs. After killing my fair share of aloes through over-enthusiastic care (read: overwatering), I figured out a system that works. This guide skips the fluff and gives you the actionable steps to keep your aloe not just alive, but genuinely thriving.
What You’ll Learn in This Guide
The One Watering Mistake That Kills Most Aloes
Here's the non-consensus truth: underwatering is almost never the issue. Overwatering is the silent killer. Aloe vera stores water in its thick, fleshy leaves. Its roots are designed to suck up moisture quickly from rare desert rains and then sit in dry soil for a long, long time.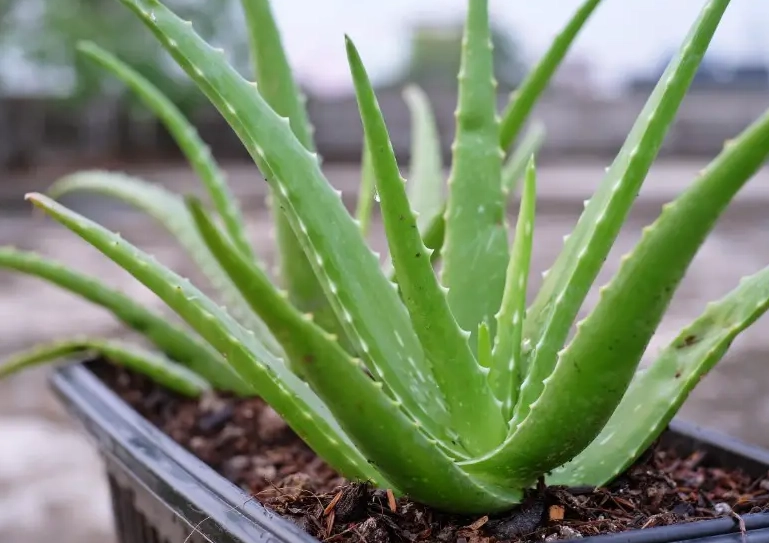
When you water on a schedule—say, every Saturday—you're ignoring what the plant actually needs. The soil might still be wet from last week, but you water anyway because it's on the calendar. That's a recipe for root rot.
When you do water, do it thoroughly. Take the plant to the sink and pour water until it runs freely out of the drainage holes. This ensures the entire root ball gets hydrated. Then, let it drain completely before putting it back in its decorative pot or saucer. Never let it sit in a puddle of water.
Finding the Perfect Light Spot in Your Home
Another piece of common but misleading advice is that aloe does well in "bright, indirect light." While it can survive there, it won't thrive. To grow compact, sturdy, and develop that beautiful stress-tinted color on the leaf edges, it needs direct sun.
Think about where it grows naturally: in full, blazing desert sun. Your goal is to replicate that as much as possible indoors.
The ideal spot: A south-facing or west-facing window. An east-facing window can work, but the plant may stretch a bit towards the light. A north-facing window is usually too dim.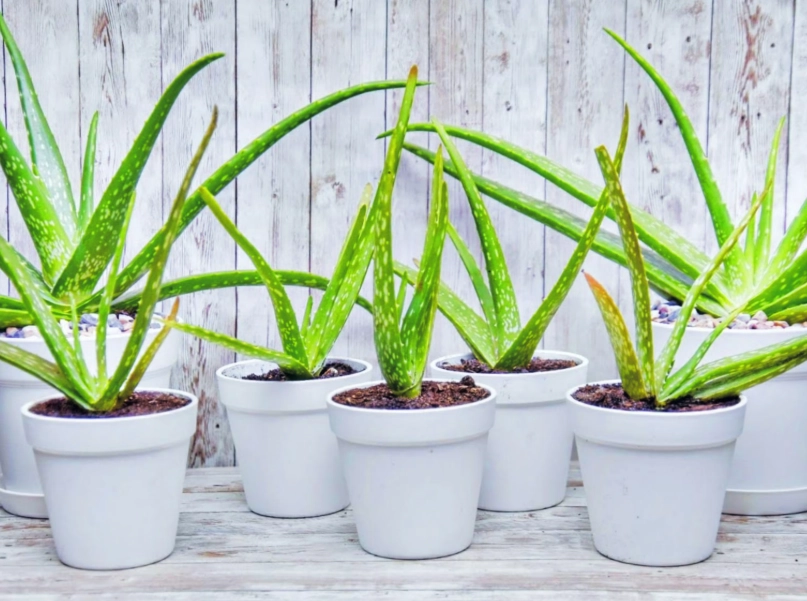
Signs your aloe needs more light: it becomes leggy, with long, weak stems and leaves that are spaced far apart. The leaves may also turn a dull, dark green and lose their plumpness.
The Right Soil and Pot: Your Plant's Foundation
You can nail the watering and light, but if your aloe is sitting in the wrong soil in the wrong pot, you're fighting an uphill battle. Standard potting mix holds too much moisture. It's like putting a cactus in a swamp.
You need a fast-draining, gritty mix. I make my own, and it's simpler than it sounds: one part regular potting soil, one part coarse sand or poultry grit, and one part perlite or pumice. This creates an airy, well-draining environment that mimics the aloe's natural habitat.
If DIY isn't your thing, look for a bag labeled "cactus and succulent mix." Even then, I often add extra perlite to the commercial mix to improve drainage further.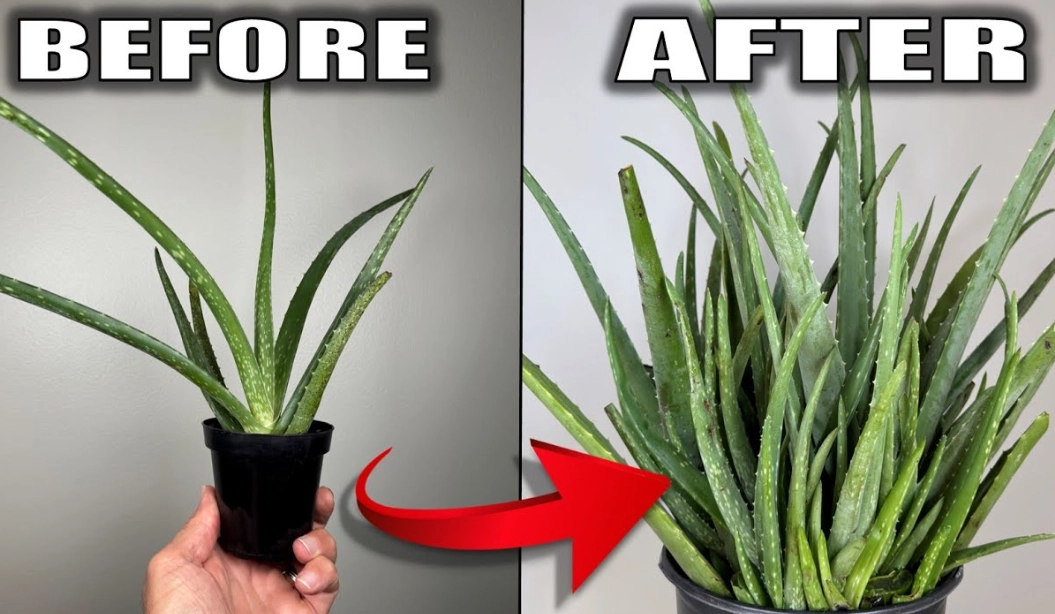
Choosing the Right Pot
The pot matters just as much. Drainage holes are non-negotiable. No holes, no aloe. It's that simple.
Material matters too. Terracotta or unglazed clay pots are fantastic for beginners. They're porous, which allows the soil to dry out from the sides as well as the top, reducing the risk of overwatering. Plastic or glazed ceramic pots retain moisture longer, so you need to be even more careful with your watering frequency.
Don't over-pot. Choose a pot that's only 1-2 inches wider in diameter than the root ball. A pot that's too large holds a huge volume of wet soil that the small roots can't access, creating a soggy environment that leads to rot.
When and How to Feed and Prune Your Plant
Aloe vera isn't a heavy feeder. In fact, in rich soil, it might not need any fertilizer at all for the first year. Over-fertilizing can cause weak, floppy growth and even burn the roots.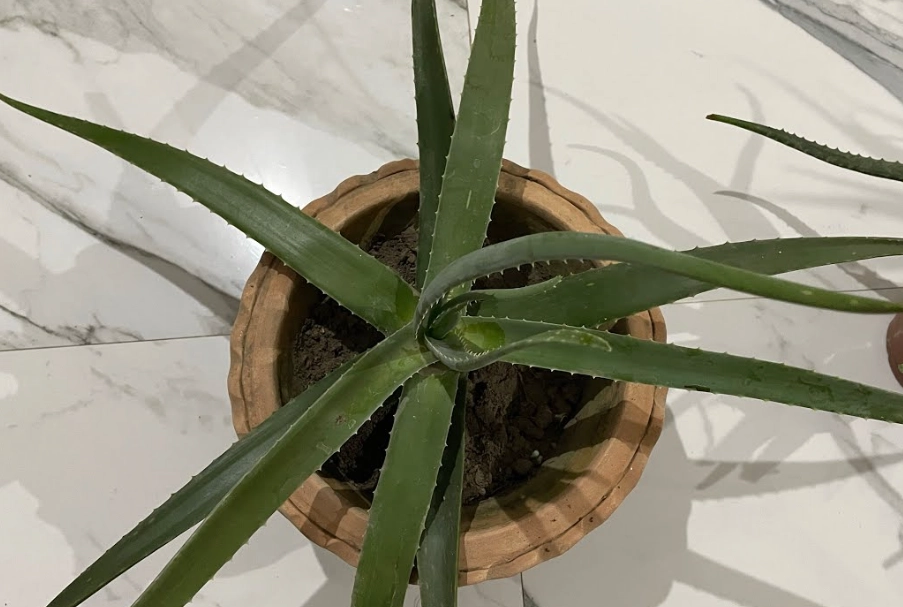
If you want to give it a boost during its active growing season (spring and summer), use a balanced, water-soluble fertilizer diluted to half the recommended strength. Do this once, maybe twice, during the entire season. Do not fertilize in fall or winter when the plant is dormant.
Pruning is mainly about harvesting leaves for gel or removing old, damaged growth. To harvest a leaf for its gel, always choose a mature, outer leaf. Use a clean, sharp knife and cut as close to the main stem as possible. The plant will seal the wound. Don't just tear a leaf off halfway.
You can also remove any leaves that are completely brown, dried, or damaged at the base to keep the plant looking tidy and to prevent potential disease entry points.
Troubleshooting Common Aloe Vera Problems
Here’s a quick-reference table for diagnosing what’s wrong with your aloe. This is based on seeing the same issues pop up again and again in plant care forums and my own misadventures.
| Symptom | Likely Cause | How to Fix It |
|---|---|---|
| Soft, mushy, brown leaves | Overwatering / Root Rot | Stop watering immediately. Remove plant from pot, cut away any black, mushy roots with sterile scissors. Repot in fresh, dry succulent mix. Don't water for at least a week. |
| Thin, curled, dry leaves | Underwatering (less common, but possible) | Give the plant a thorough soak. If the soil has become hydrophobic (water runs straight through), soak the entire pot in a basin of water for 30 minutes to rehydrate the root ball. |
| Leggy, stretched growth | Insufficient Light | Gradually move to a brighter location with more direct sunlight. You can't fix the stretched part, but new growth will be compact. |
| Brown, crispy spots on leaves | Sunburn | Move to a spot with gentler light (bright indirect). The burned spots won't heal, but new growth will be fine. Acclimate better next time. |
| Pale, washed-out leaves | Often a combination of too much water and not enough light. | Let soil dry out completely and increase light exposure. Check for root rot if stems are also soft. |
Pests are rare on healthy aloes, but mealybugs (little white cottony masses) or scale (brown bumps) can appear. For a small infestation, dab them with a cotton swab dipped in rubbing alcohol. For larger issues, insecticidal soap is effective. Good air circulation helps prevent them.
Your Aloe Care Questions Answered
Why are the tips of my aloe vera turning brown?
This is often due to minerals or salts in your tap water, especially if you live in an area with hard water. Aloe is sensitive to fluoride and other chemicals. The salts build up in the leaf tips and cause "tip burn." The fix is simple: switch to filtered water, rainwater, or even distilled water for watering. You can also trim off the brown tips with clean scissors—cut at a slight angle to mimic the leaf's natural point.
My aloe is growing sideways and falling over. What should I do?
This usually means it's not getting enough light and is stretching desperately towards whatever source it can find, becoming top-heavy. First, move it to a much brighter spot to strengthen new growth. For the existing plant, you can carefully repot it, planting it deeper to support the stem, or even stake it gently. In severe cases, you can behead the top rosette, let the cut end callous over for a few days, and then replant it. The old base will often produce new pups.
How do I propagate aloe vera from the "pups" or babies?
This is the easiest way. Wait until the pup is a decent size, about one-quarter the size of the mother plant, with its own set of roots starting to form. Gently remove the entire plant from its pot and brush away the soil to see where the pup connects to the mother. Use a clean, sharp knife to separate them, ensuring the pup takes some roots with it. Let the cut wound dry and callous over for 24-48 hours, then pot it up in a small pot with fresh succulent mix. Don't water it for about a week to avoid rot.
Can I use regular garden soil for my potted aloe?
I strongly advise against it. Garden soil is too dense, compacts easily in a container, and often contains pathogens or pests. It lacks the drainage and aeration that potted succulents absolutely require. It's the single fastest way to cause root rot. Stick to a purpose-made, gritty succulent mix.
Is it true I shouldn't use the gel from a very young plant?
There's some wisdom here. The medicinal compounds in aloe vera gel, like acemannan, are more concentrated in mature leaves. A very young plant or a small, inner leaf hasn't had time to develop the full profile of beneficial substances. For the best quality gel, always harvest from the plumpest, outermost leaves of a plant that is at least a couple of years old. For more detailed information on the plant's properties, resources like the Missouri Botanical Garden plant database or the American Horticultural Society offer trusted botanical references.
Looking after an aloe vera plant successfully boils down to understanding its desert origins. Forget the schedule, embrace the soak-and-dry method, give it as much sun as you can, and plant it in gritty, well-draining soil. It's not about doing a lot; it's about doing the right few things. When you get it right, you're rewarded with a resilient, architectural plant that's not just surviving on your windowsill, but actively thriving—and maybe even providing a little gel for a kitchen burn now and then.