Let's cut to the chase. Most cactus deaths start from the bottom up—literally. You bring home a tough-looking succulent, give it light, water it sparingly, and still, it turns to mush. I've been there. After losing a prized Mammillaria to a bag of "premium cactus mix" that stayed wet for weeks, I realized the problem wasn't me; it was the dirt. True cactus soil isn't just dirt; it's an engineered environment for roots that hate moisture. This guide isn't a rehash of generic advice. It's the result of years of trial, error, and conversations with growers who keep their plants alive for decades. We'll move past the basics and into the gritty details of building a mix that actually works.
What You'll Find in This Guide
Why Store-Bought Cactus Soil Often Fails
Walk into any garden center, and you'll see bags labeled "Cactus & Succulent Potting Mix." They're convenient. They're also, in my experience, frequently terrible. The primary issue is that they are designed to be a one-size-fits-all product that retains just enough moisture for the average consumer who might forget to water. For cacti, that "just enough" is a death sentence.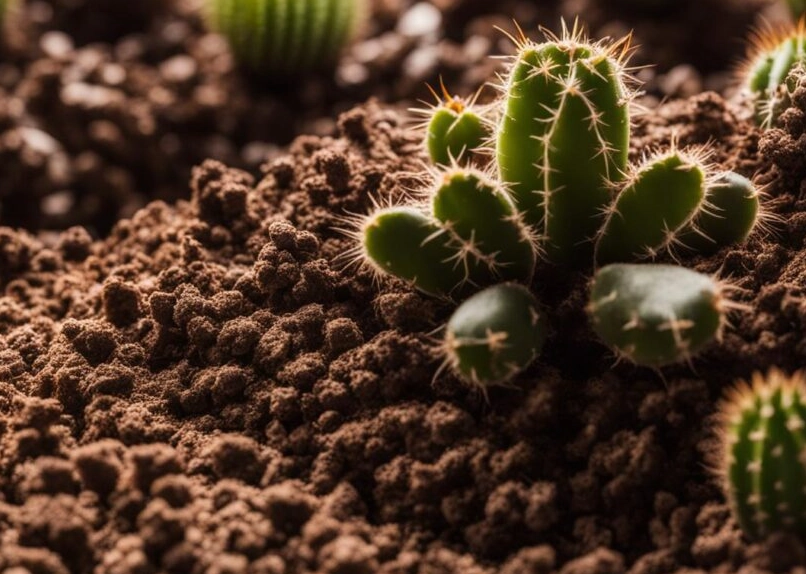
Many commercial mixes rely heavily on fine peat moss or coconut coir. These materials are great for water retention but terrible for drainage if not balanced with enough gritty material. When peat dries out completely—a common state for a neglected cactus pot—it becomes hydrophobic, meaning it repels water. You think you're watering, but the water runs down the sides of the pot, leaving the root ball bone-dry. Then, in a panic, you soak it, and the peat acts like a sponge, holding that moisture right against the roots for days.
This doesn't mean all commercial mixes are bad. Some specialized brands are excellent, but they're pricey. The real solution, and the one that gives you complete control, is mixing your own. It's cheaper, more effective, and you'll know exactly what your plants are sitting in.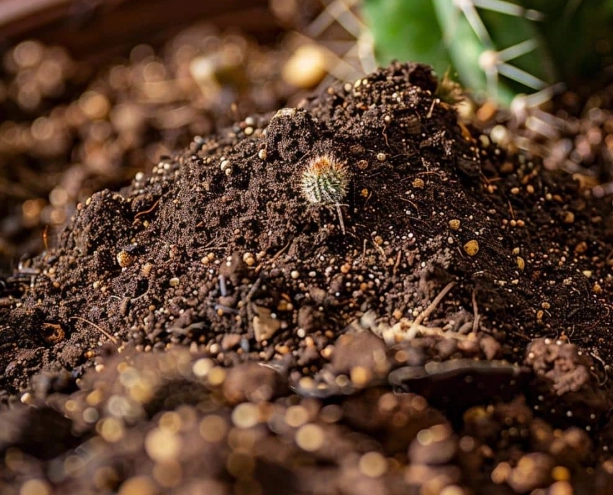
The Three Components of a Perfect Mix
Think of cactus soil as a structure, not just nutrition. The goal is to create a porous, stable matrix that allows water to exit rapidly, lets air reach the roots, and provides minimal, slow-release nutrients. It breaks down into three categories.
1. The Base (Organic Component)
This is the nutrient source and the only part that holds onto a small amount of water. Its job is not to feed the plant constantly but to provide a reservoir that dries out quickly. Regular potting soil is not an option here. It's too dense and rich.
- Potting Compost or Coconut Coir: A good, sterile potting compost (like a seed-starting mix) or a block of coconut coir works. I lean towards coir because it's more sustainable, has a near-neutral pH (peat is acidic), and rewets easier when dry. Use it sparingly.
- Sifted Garden Compost: Only if you're confident it's fully decomposed and disease-free. I rarely use it for potted cacti due to the risk of pests and inconsistent texture.
2. The Grit (Inorganic Component)
This is the star of the show. Grit creates the air pockets and ensures drainage. The size and type matter. You want particles between 1/8" and 1/4" (3-6mm).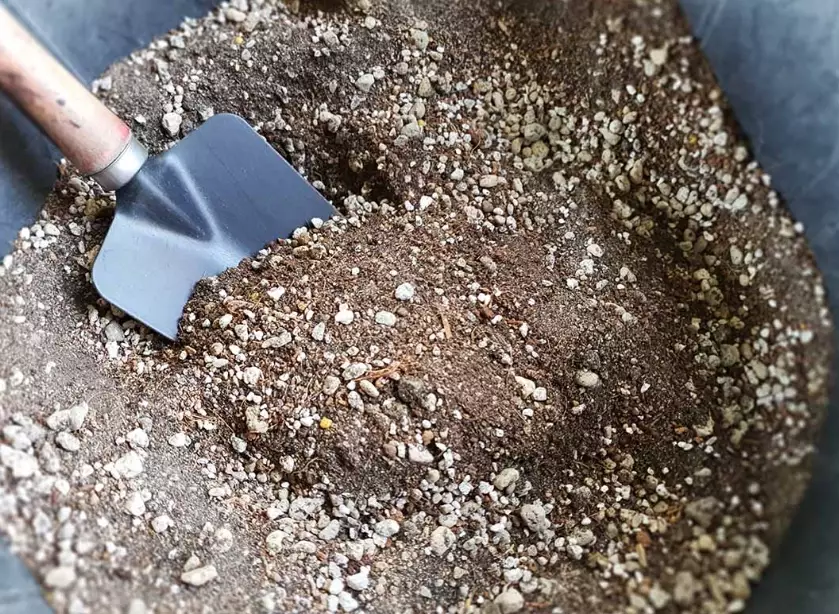
| Grit Material | Best For | What to Watch For | My Personal Take |
|---|---|---|---|
| Perlite | Budget mixes, improving aeration. | It's white, floats to the top over time, and can be dusty. Breaks down into powder. | I use it, but I'm not a fan of the look. It gets the job done cheaply. |
| Pumice | The gold standard. Excellent drainage, porous, holds some water internally, neutral pH. | Can be harder to find and more expensive. Worth seeking out. | My absolute favorite. It's stable, doesn't float, and roots love it. |
| Horticultural Grit/Granite Chips | Adding permanent weight and drainage. Doesn't decompose. | Sharp edges. Use rounded aquarium gravel if you're worried about root damage. | Essential for top-heavy cacti. Provides ballast so they don't tip over. |
| Coarse Sand | A common recommendation, but be careful. | Never use beach sand or fine play sand. It fills pores and creates concrete. Only use sharp, coarse, washed builder's sand. | I mostly avoid it. It's heavy and if it's not perfectly coarse, it ruins the mix's porosity. |
| Baked Clay (Turface, Akadama) | Serious collectors, mimicking mineral soils. Holds water and nutrients in its pores. | Expensive. Can break down over many years. | Great for expensive specimens. I use Turface in my "showplant" mixes. |
3. The Extras (Optional but Beneficial)
These aren't mandatory, but they can elevate your mix.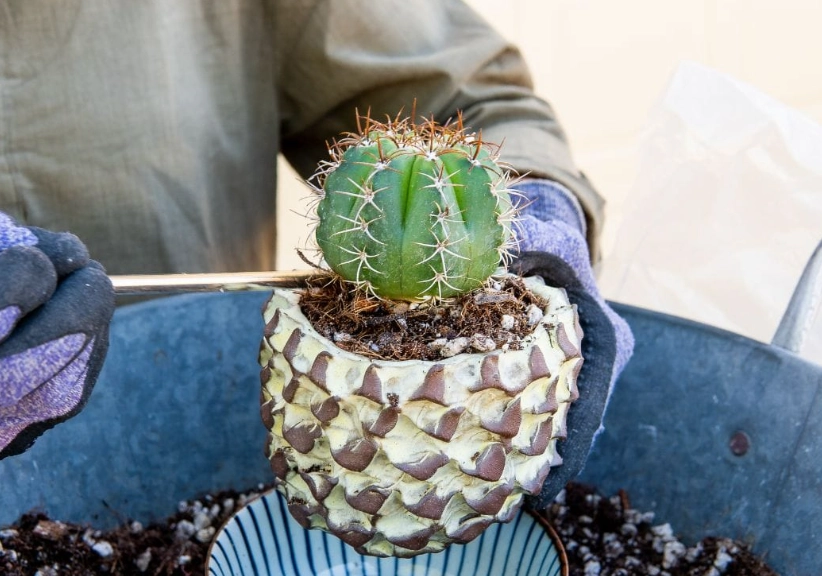
- Worm Castings: A handful per gallon of mix adds beneficial microbes and gentle nutrients. It's like a probiotic for your soil.
- Charcoal (Horticultural): A bit of crushed charcoal helps absorb impurities and can keep the soil "sweet." It's more useful in closed terrariums but doesn't hurt in pots.
- Mycorrhizal Fungi: A dusting on the roots during repotting can help with nutrient uptake, especially in such a lean, inorganic mix.
How to Make Your Own Cacti Soil: A Step-by-Step Guide
Let's get our hands dirty. Here's my go-to, all-purpose recipe that works for 90% of common cacti and succulents. I call it the 60-40 Grit Mix.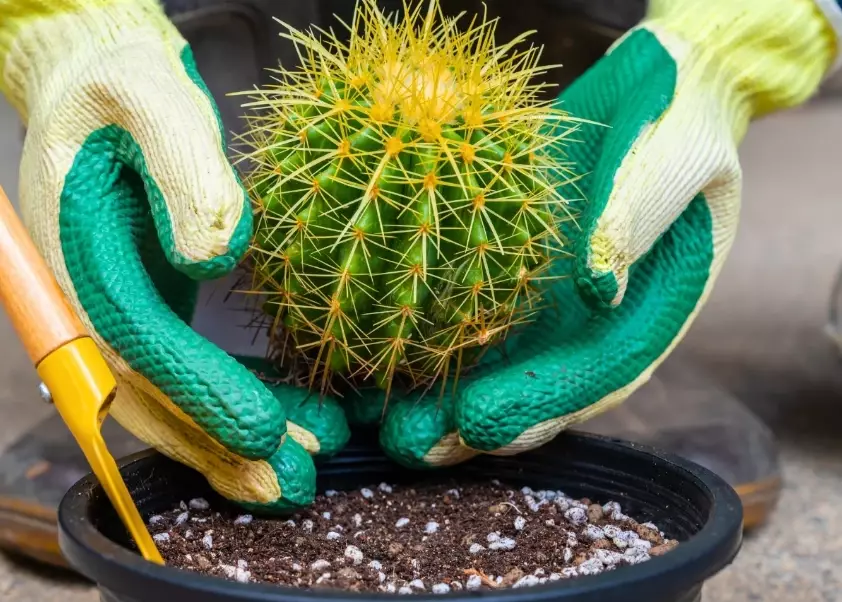
You'll need:
- 4 parts Pumice (or Perlite)
- 2 parts Horticultural Grit (small granite chips or aquarium gravel)
- 3 parts Coconut Coir or Potting Compost
- 1 part Worm Castings (optional)
- A large tub or bucket for mixing
- A trowel or your hands
The Process:
- Pre-moisten the coir. If using a dry coir brick, hydrate it separately according to the package. It should be damp, not soggy. This prevents dust and ensures even mixing.
- Combine the dry ingredients. In your tub, add the pumice, horticultural grit, and optional worm castings. Mix them roughly.
- Add the organic component. Break up the damp coir and add it to the tub. Now, use your hands or a trowel to mix everything thoroughly. You want every bit of coir to be surrounded by grit. The final texture should be loose and crumbly. If you squeeze a handful, it should hold its shape briefly before crumbling apart.
- Test it. Take a small pot, fill it with your mix, and water it thoroughly. Time how long it takes for water to freely run out the bottom. It should be seconds, not minutes. Then, feel the soil 30 minutes later. The surface should be noticeably drier, and the pot should feel light.
Getting the Grit Ratio Right
The "60-40" refers to the inorganic-to-organic ratio (60% grit, 40% coir/compost). This is a starting point. You adjust based on your conditions and plant type.
For a moisture-hating Lithops (living stone), I might use an 80-20 mix. For a jungle cactus like Epiphyllum that enjoys a bit more moisture, I'd shift to 50-50.
Common Mistakes That Kill Cacti (Even with Good Soil)
A perfect mix can't save a plant from poor practices. Here are the subtle errors I see even experienced hobbyists make.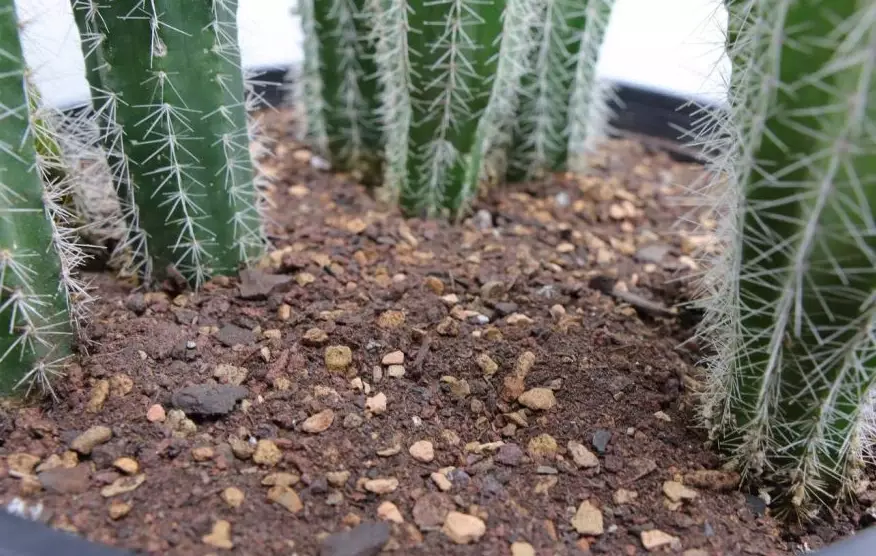
1. Using a Pot Without a Drainage Hole. This is non-negotiable. No hole, no cactus. Decorative cache pots are fine, but the inner pot must drain freely.
2. Not Sterilizing Components. If you're using garden soil, compost, or found materials (like sand from a sandbox), you're introducing fungi, bacteria, and insect eggs. Bake small batches in the oven at 200°F (93°C) for 30 minutes, or drench with boiling water. Bagged, commercial components are usually sterile.
3. Repotting into Soaking Wet Soil. Always repot into slightly damp mix. Bone-dry mix is hard to work with and can damage roots. Soaking wet mix creates an immediate soggy environment for freshly disturbed roots. Aim for the consistency of a wrung-out sponge.
4. Forgetting About Soil Collapse. Over time, even the best organic component breaks down. The soil level sinks, the particles get finer, and drainage slows. This is why repotting every 2-3 years, even if the plant isn't root-bound, is crucial. You're refreshing the soil structure.
5. Ignoring Water Quality. In very hard water areas, minerals can build up in the porous grit and on the soil surface, altering pH. Occasionally watering with rainwater or distilled water can help flush these out.
Your Cacti Soil Questions, Answered
My cactus soil stays wet for over a week after watering. What should I do?
First, check the light and temperature. A cool, dark spot will keep any soil wet. If conditions are good, your mix is too moisture-retentive. At the next repot, significantly increase the grit ratio. For now, improve airflow around the pot, and resist watering until it's completely dry. Consider gently poking holes in the soil with a chopstick to aerate it.
Can I reuse old cactus soil from a dead plant?
Only if you're sure the plant died from something non-contagious (like physical damage or cold). If it died from rot, the soil likely harbors the same pathogens. To be safe, I either sterilize it by baking or, more commonly, I use it for non-succulent plants in the garden. It's not worth the risk to a new cactus.
Is a layer of rocks at the bottom of the pot good for drainage?
This is a persistent myth. A layer of rocks creates a "perched water table"—it actually raises the level of saturated soil above the rocks, keeping the roots wetter. The only thing that should be in the bottom of the pot is a single piece of mesh or a broken pottery shard to cover the hole and keep the soil in. Good drainage comes from a uniformly gritty mix throughout the entire pot.
How do I know when my homemade mix is dry enough to water again?
Forget the calendar. Use a wooden skewer or chopstick. Stick it deep into the pot, leave it for a minute, then pull it out. If it comes out clean or with just a few dry particles, it's time to water. If it has damp soil sticking to it, wait. The pot will also feel significantly lighter when dry. For larger pots, a moisture meter probe can be helpful, but the skewer trick is free and reliable.
My cactus is in a store-bought mix and seems fine. Should I still repot it?
If it's thriving, don't rush. But plan to repot within the next 6-12 months. The nursery mix is often fine for the quick-turnaround greenhouse environment but may not be ideal long-term in your home. When you do repot, gently shake off as much of the old, peaty soil from the roots as possible without damaging them, and transition it to your better-draining mix.
The right soil is the foundation of cactus care. It's not glamorous, but getting it right solves most problems before they start. By mixing your own, you move from following generic rules to understanding the physical environment your plant's roots need. Start with the 60-40 recipe, observe how your plants respond, and don't be afraid to tweak it. Your cacti will show their gratitude through robust, rot-free growth.
This guide is based on hands-on cultivation experience and references to widely accepted horticultural principles, such as those outlined in resources from the University of California's Integrated Pest Management program regarding soil porosity and plant health.