I killed my first aloe vera. It’s a confession most plant blogs skip, but it’s the truth. I gave it what I thought was love—frequent sips of water, a cozy spot away from the harsh sun. It turned into a brown, mushy mess within months. That failure sent me down a rabbit hole, and over a decade of keeping dozens of aloes alive (and yes, losing a few more to learn harder lessons), I’ve realized something: most aloe vera care advice is too generic. It misses the subtle cues the plant gives you. This isn’t just about keeping it alive; it’s about understanding its language so it doesn’t just survive, but actively grows and even produces pups for you to share. Let’s cut through the noise.
What You’ll Learn
Aloe Vera Light Requirements: Bright Doesn’t Always Mean Direct
Here’s the non-consensus take: an east-facing window is often better than a south-facing one for indoor aloes, especially in hot climates. Everyone says “bright, indirect light,” but what does that feel like? Put your hand where the plant sits around noon. If you feel a distinct warmth from the sun on your skin, that’s direct light. If the area is brightly lit but your hand feels no warmth, that’s ideal indirect light.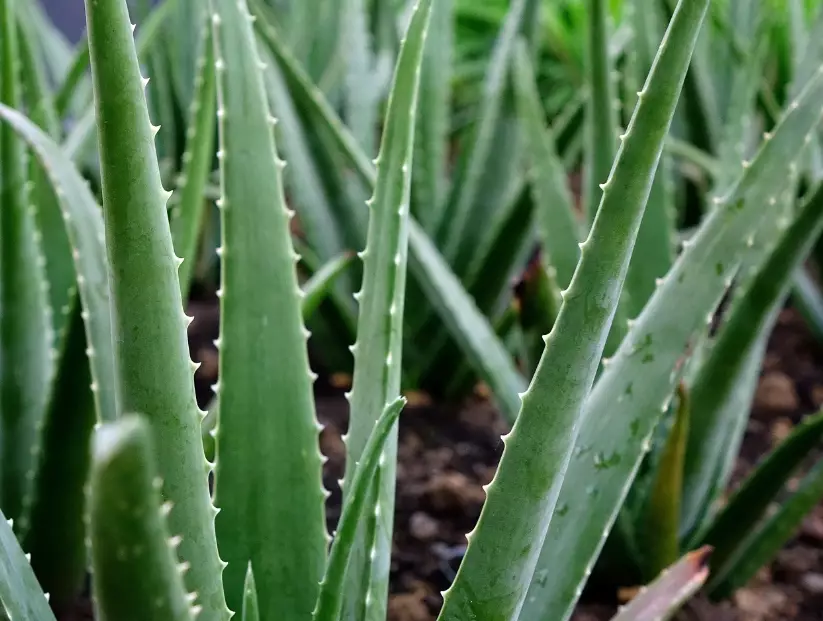
A south window can work, but pull the plant back a foot or two, or use a sheer curtain. I’ve seen more aloes get sunburned (bleached, reddish-brown, crispy patches) on a relentless southern sill than anywhere else. An east window gives it the gentle morning sun it craves without the afternoon intensity. West can be okay, but monitor for scorching. North is usually too dim; the plant will start stretching out, its leaves becoming longer, thinner, and paler—a condition called etiolation.
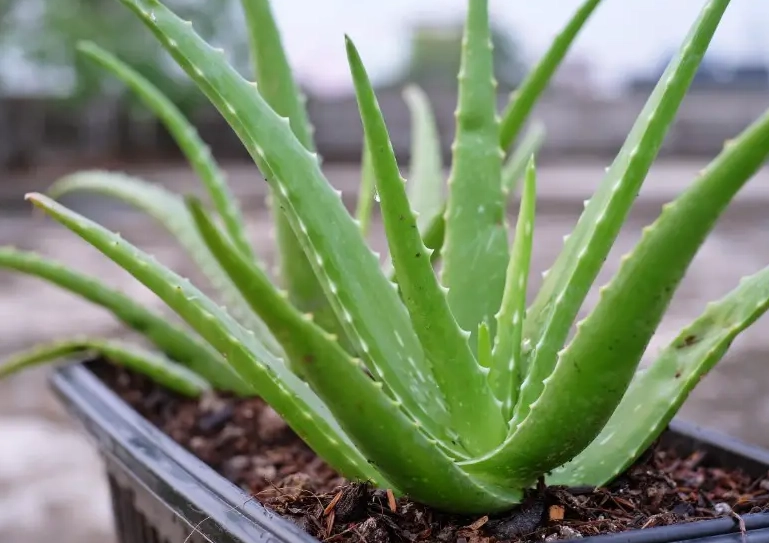
My Personal Rule: If the leaves are a deep, rich green and feel firm, the light is perfect. If they start turning a grayish or brownish green and feel hard or look sunken, it’s getting too much direct sun. If they’re lush green but floppy and stretching, it needs more.
How to Water Your Aloe Vera: The Soak-and-Forget Method
Overwatering is the aloe assassin. The biggest mistake isn’t volume, it’s frequency. Aloes store water in their leaves. A thirsty aloe is a patient aloe. A drowning aloe is a dying aloe.
Forget the “once a week” schedule. It’s useless. Your watering schedule depends on pot size, soil, humidity, and season. Here’s the method that hasn’t failed me:
Step 1: Check the Soil—Really Check It
The “finger test” (sticking a finger in the soil) is often recommended, but it’s flawed for deep pots. Moisture at the top two inches can be deceptive. I use a wooden chopstick or skewer. Stick it deep into the pot, leave it for a minute, then pull it out. If it comes out with damp soil sticking to it or feels cool and damp, wait. If it comes out clean, dry, and feels room temperature, it’s time.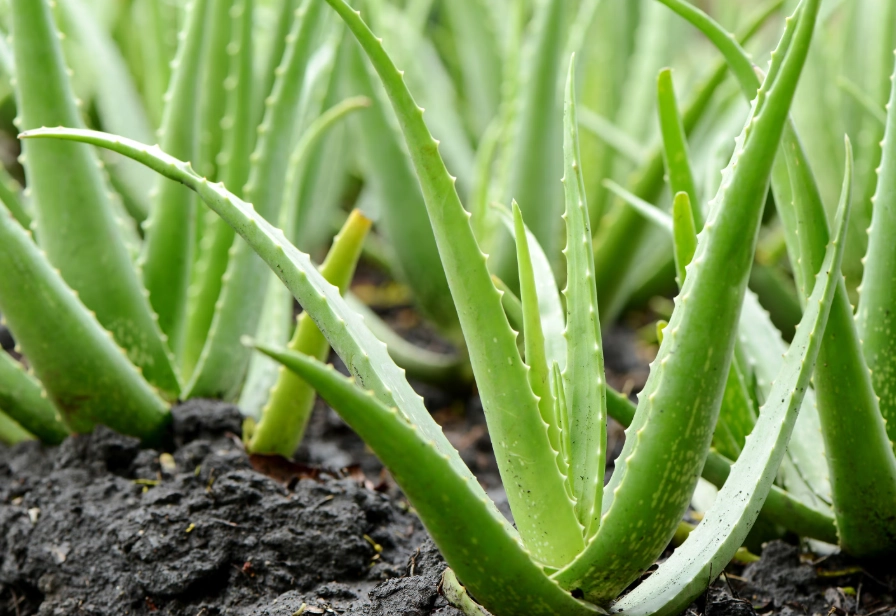
Step 2: Water Deeply and Completely
Take the plant to the sink. Water slowly at the soil base until you see water flowing freely out of the drainage hole. This ensures the entire root ball gets moisture. Let it drain completely in the sink for 10-15 minutes. Never let it sit in a saucer of water.
Step 3: The Forget Phase
Walk away. In summer, with warm temperatures and active growth, this might be every 2-3 weeks. In winter, when the plant is semi-dormant, it could be once a month or even longer. The leaves will tell you they’re thirsty by feeling slightly less plump, but they shouldn’t shrivel.
The plant in a small terracotta pot in a sunny spot will need water more often than the one in a large ceramic pot in lower light. Terracotta breathes, drying soil faster.
Soil and Potting: Building the Right Foundation
Bagged “cactus and succulent soil” from the store is a starting point, not the finish line. I find it’s often still too moisture-retentive on its own. My go-to mix is:
50% Cactus/Succulent Potting Mix + 25% Perlite + 25% Coarse Sand or Pumice.
The perlite and sand are non-negotiable. They create air pockets and improve drainage dramatically, preventing the roots from sitting in wet soil. The goal is a mix that feels gritty, not dense or peaty.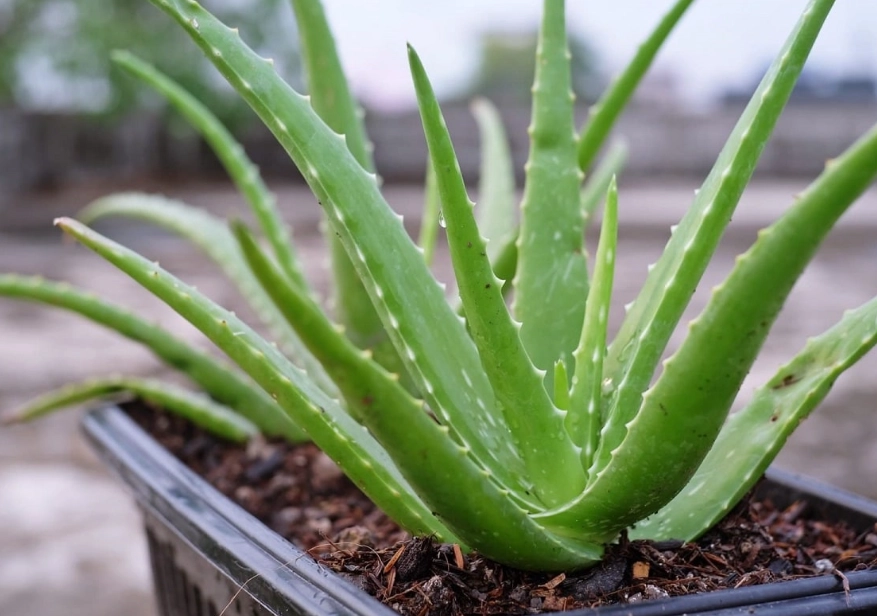
Choosing and Using the Right Pot
Drainage Hole: Mandatory. No debates. Material: Terracotta is ideal for beginners—it wicks away moisture. Glazed ceramic is fine but requires more discipline with watering. Plastic retains the most moisture. Size: Only repot when the plant is rootbound or has outgrown its pot. The new pot should be only 1-2 inches wider in diameter. A pot too large holds excess soil that stays wet for too long, inviting root rot.
Troubleshooting Common Aloe Vera Problems
Your plant is talking. Here’s how to translate the distress signals.
Soft, Mushy, Brown Leaves at the Base: This is classic overwatering and likely root rot. The plant feels unstable. You must act fast. Unpot it, gently wash the roots, and cut away any black, slimy roots with sterile scissors. Let the plant and its roots air dry for a day or two, then repot in fresh, dry succulent mix. Don’t water for at least a week.
Thin, Curled-In Leaves: The plant is thirsty. It’s using up its internal water reserves. Give it a good soak. The leaves should plump back up in a day or two.
Brown, Dry, Crispy Leaf Tips: Usually underwatering, but could also be a reaction to minerals or fluoride in tap water. Try using filtered or rainwater for a few waterings and ensure you’re soaking the soil fully when you do water.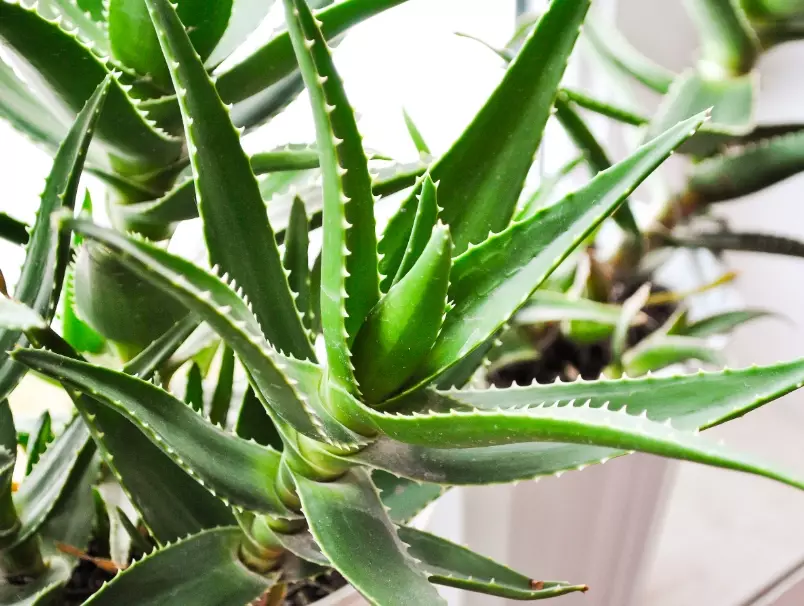
Flat, Droopy Leaves (Not Mushy): Often a light issue. The plant isn’t getting enough energy to keep its structure rigid. Move it to a brighter location.
Reddish or Brownish Tinge on Leaves: This is “stress coloring” from intense sunlight. It’s not always harmful—some aloes develop a nice bronze tone—but if combined with dry, sunken spots, it’s sunburn. Provide some shade.
Propagation: How to Get Free Aloe Vera Plants
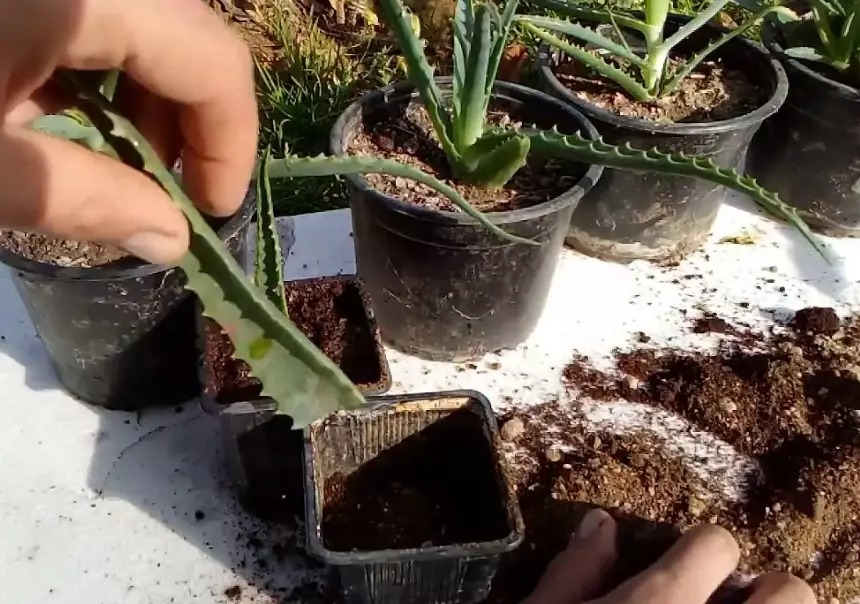
A happy, mature aloe vera will produce “pups” or offsets—small baby plants that grow from the base of the mother. This is your reward for good care. Separating them is simple but requires a light touch.
Wait until the pup is at least one-third the size of the mother plant and has developed its own set of roots. Gently remove the entire plant from its pot. You’ll see the pup connected by a stem or root. Using a clean, sharp knife, cut the connecting tissue, ensuring the pup keeps some roots. Let the cut end callous over in a shady spot for 24-48 hours. This is crucial—planting a fresh cut invites rot. Then, pot the pup in a small container with your well-draining mix. Don’t water for about a week to allow roots to settle and seek moisture.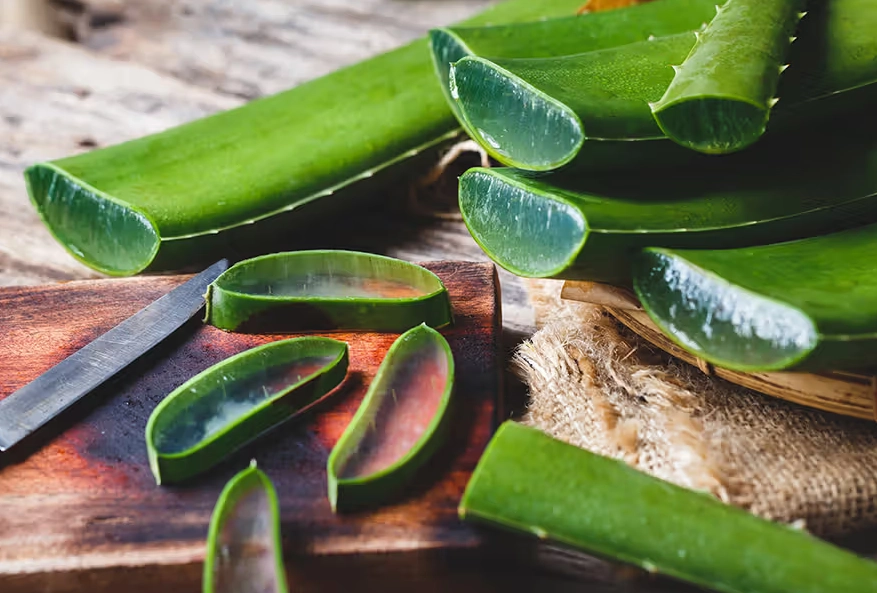
Your Aloe Vera Care Questions, Answered
Why are the leaves on my aloe vera turning thin and curling inward?
This is the plant’s most direct signal for thirst. It’s depleting the water stored in its leaves. Don’t just give it a small drink. Perform the complete soak-and-drain method outlined above. A healthy leaf should feel fat and firm, like a plump grape. A thirsty one feels more like a slightly deflated balloon. It should recover its shape within 48 hours of a proper watering.
Can I use the gel from my homegrown aloe vera plant?
Yes, but with a major caveat. The clear inner gel from a mature, healthy leaf can be used topically for minor burns or skin irritation. However, the yellow latex (aloin) that seeps out just under the green skin is a strong laxative and can irritate skin. To harvest, cut a mature lower leaf close to the base, rinse it, let the yellow sap drain for a few minutes, then fillet the green skin away to access the clear gel. Never ingest it without consulting a professional, as home preparations aren’t purified. For reliable medicinal information, refer to resources like the Memorial Sloan Kettering Cancer Center’s herbal database.
My aloe vera is growing sideways or leaning heavily. What should I do?
This is usually a combination of two factors: phototropism (growing toward light) and top-heaviness. First, rotate the pot a quarter turn every time you water to encourage even growth. If it’s severely leaning, it might be time to repot. During repotting, you can plant it slightly deeper to provide more support for the stem, and position it upright in the new pot. Use a pot with a wider, stable base. Sometimes, the lean is just character—these plants aren’t always picture-perfect in nature.
How do I get my aloe vera to flower indoors?
Flowering is a sign of exceptional, mature care and is rare indoors. It requires a very bright location (like a sunny south window), a tight root-bound pot which signals maturity to the plant, and a distinct seasonal change. Some growers induce it by giving the plant a cooler, drier rest period in the winter (temperatures around 50-55°F/10-13°C if possible, with minimal water). Don’t stress if it never flowers; lush leaf growth is the primary sign of health for an indoor aloe.
What’s the white powdery stuff or tiny bugs on my aloe?
Likely mealybugs (cotton-like fluff) or scale (hard, brown bumps). Isolate the plant immediately. For a light infestation, wipe every leaf and crevice with a cotton swab dipped in 70% isopropyl alcohol. For a heavier issue, spray the plant thoroughly with a mix of water, a few drops of mild dish soap, and a teaspoon of neem oil. Repeat weekly. These pests often come from overwatering or poor air circulation, so improving care is part of the cure.
The core of aloe vera care is learning its slow, succulent rhythm. It’s a plant that thrives on benign neglect—plenty of bright light, infrequent but thorough drinks, and a gritty home. Pay more attention to the feel of its leaves and the weight of its pot than to any calendar. Start with these principles, observe your own plant’s reactions, and you’ll move from keeping it alive to helping it truly flourish.